
Installation Guide
Install Your EVIPOWER Charger
Whether you prefer a simple plug-in setup or professional hardwired installation, we have you covered with step-by-step instructions, video guides, and expert help.
Option 1
Install It Yourself
Choose your installation type below. Plug-in is as simple as it sounds. Hardwired gives you maximum power at 50A.
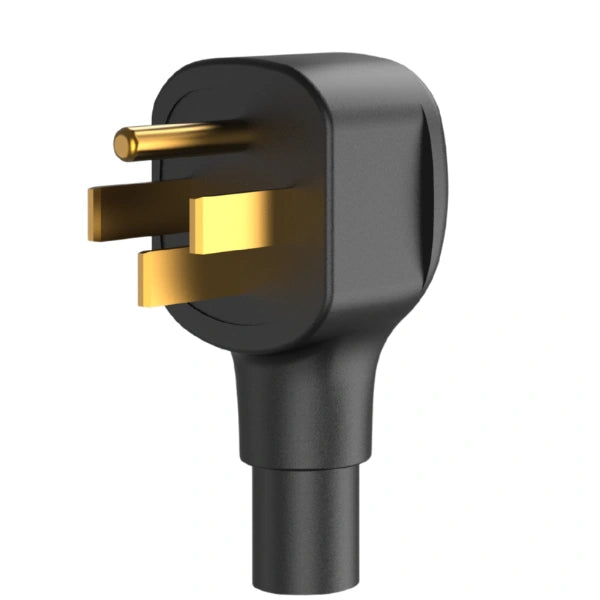
Ensure you have a NEMA 14-50 outlet installed by a licensed electrician. This is a 240V receptacle. The circuit must be rated at 50A minimum with a dedicated breaker.
Use the included mounting templates to mark drill points. Attach the wall bracket and cable holster using the provided expansion screws. Use a level to ensure everything is straight.
Plug the NEMA 14-50 plug into your outlet with the ground prong facing up. Secure the charger onto the wall bracket and tighten anti-theft screws with the included Allen wrench.
Download the EVIQO app (iOS / Android). Enable Bluetooth, tap Add new device, select your Wi-Fi (2.4 GHz only), and follow on-screen steps. The bottom LED blinks blue during setup.
Plug the J1772 or NACS connector into your vehicle. Charging begins automatically or tap START in the app. Default output: 40A (9.6 kW).
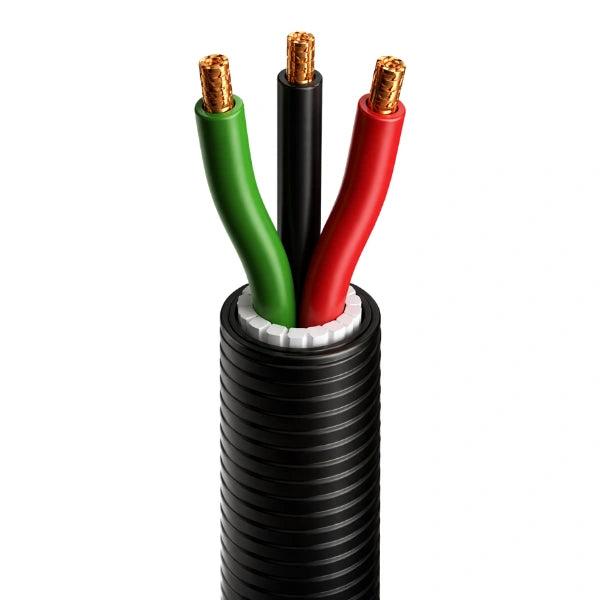
A 60A dedicated breaker is required for full 48A output. Use 6 AWG THWN-2 copper wires for L1/L2 and 10 AWG for ground (PE). No neutral wire required.
Mount the wall bracket using the template. Route wires from the electrical panel through the conduit to the charger location. Leave enough wire length for comfortable connections.
Loosen the 7 screws on the back to remove the faceplate. Connect L1 to L1, L2 to L2, PE to Ground. Torque: 12.39 in-lbs (1.4 N-m). Use insulated M4 #8 ring terminals.
Locate the gray dial switch on the motherboard (top-left on the faceplate). Turn to position 3 = 48A (60A breaker). Reassemble and mount on bracket.
Turn on the breaker. The charger initializes in about 60 seconds. Connect via the EVIQO app. Max output is now 48A (11.5 kW).
Option 2
Let a Pro Handle It
No tools, no stress. A licensed electrician comes to your home, installs the outlet or hardwires your charger, and ensures everything is up to code.
Video Guides
Watch and Learn
Step-by-step video walkthroughs for installation and setup.
FAQ
Common Questions
Not for the charger itself. If you already have a NEMA 14-50 outlet, you simply plug in the charger. However, if you need the outlet installed, a licensed electrician is required for that part.
Plug-In (NEMA 14-50): Max 40A output. Portable. Ideal for renters.
Hardwired: Max 48A output. Permanently wired. Sleeker look. Best for homeowners wanting maximum speed.
Follow the 80% rule:
40A output = 50A breaker (plug-in)
48A output = 60A breaker (hardwired)
32A output = 40A breaker
16A output = 20A breaker
The EVIQO charger has a built-in ground fault protector, so a separate GFCI breaker is not required. However, electrical code may require GFCI for the NEMA 14-50 outlet. For hardwired installs, a non-GFCI breaker is fine.
No. The EVIQO charger only requires 2 hot wires (L1 and L2) and 1 ground wire (PE). No neutral connection is needed.
Yes! EVIQO chargers are rated IP66 / NEMA 4 and fully protected against dust, heavy rain, snow, and hose-directed water.
Yes. Remove the original NEMA 14-50 cable, connect L1/L2/PE wires directly using 6 AWG copper wire and ring terminals, set the dial switch to position 3, and reassemble. A licensed electrician is recommended.
For full 48A: 6 AWG THWN-2 copper for L1/L2 hot wires, and 10 AWG for ground (PE). Use insulated M4 #8 ring terminals.

Documentation